Article
How to Publish Jira Product Discovery Roadmaps
The Complete Guide (feat. Released)


Got a product plan? Good. But a plan isn't much use if no one sees it. You need to share it, get your team pulling in the same direction, and keep everyone else in the loop. That’s where showing your roadmap comes in.
Okay, let's get your product plans organised and shared. This guide will walk you through setting up and using roadmaps and views in Jira Product Discovery, and how to use Released for more polished, public-facing roadmaps.
Roadmaps and Views: The Basics
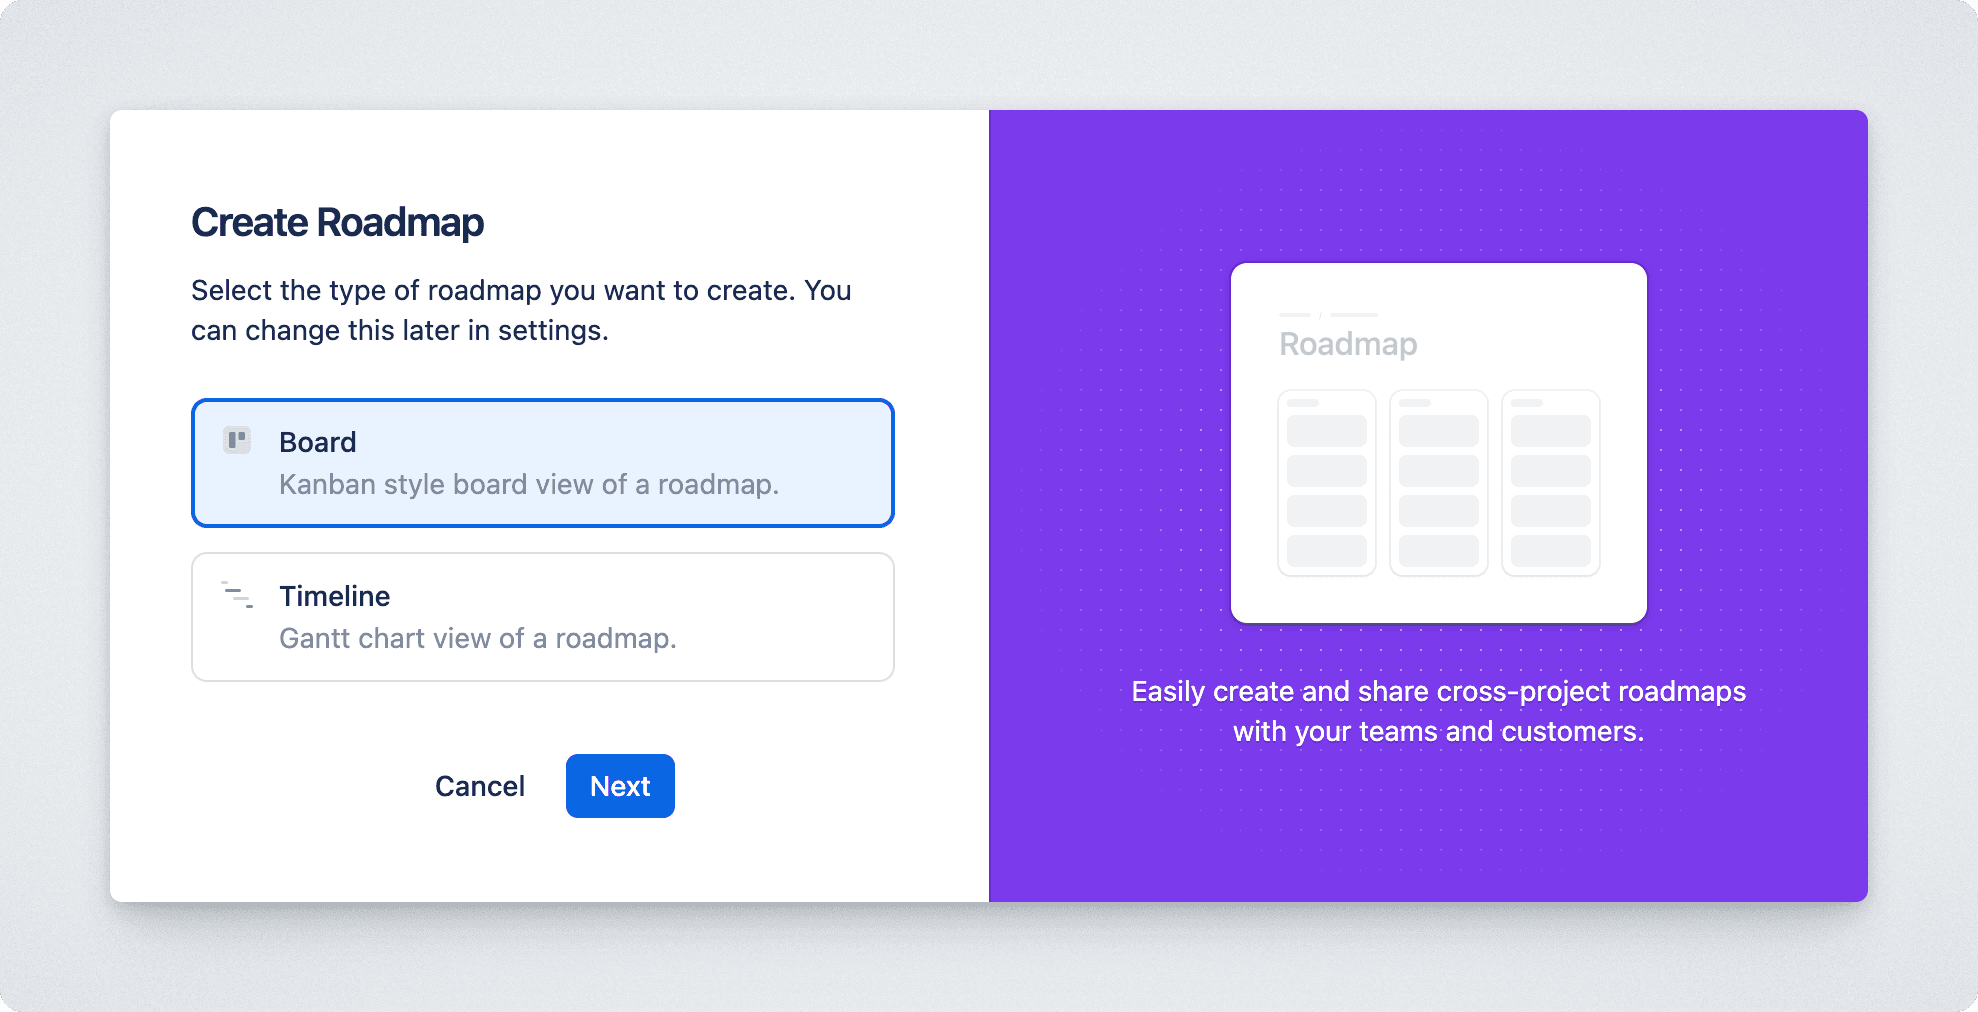
Roadmap: In Jira Product Discovery, this is where you bring your product ideas together. It's the big picture of where your product is headed.
View: A view is how you present the ideas on your roadmap. You can create different views (like a timeline, board, or list) from the same roadmap data to show specific information to different audiences (e.g., your team, leadership, or sales).
Publishing a view makes it a shareable webpage, so even people without a Jira Product Discovery license can see your plans.
1. Roadmapping Natively in Jira Product Discovery
This is about using Jira Product Discovery's built-in tools to create and share your roadmaps.
What You'll Need (Quick Check)
Jira Product Discovery Plan
Free: Create roadmaps (board/timeline) within a single project.
Standard/Premium: Publish views to share with stakeholders.
Premium: Create roadmaps from multiple projects and use advanced sharing permissions (Private, Restricted, Open).
Permissions
To Create Roadmaps: Any licensed Jira Product Discovery user.
To Publish Views: Project admins by default, or users with a "Creator" role.
To Publish to Anyone on the Internet: A site admin must first enable this in Jira Product Discovery Access settings (
Products > Jira Product Discovery > Access).
A Configured Roadmap: You need a roadmap with ideas and a view (e.g., Timeline, Board) already set up with the fields, filters, and sorting you want.
How to Publish Your Roadmap Natively in Jira Product Discovery
Step 1: Navigate to Your Desired Roadmap View
In Jira Product Discovery, open the project that contains your roadmap or navigate to the "Roadmaps" section (found in the left-hand navigation).
Select the specific view you want to share.
Step 2: Initiate the Publishing Process
Once your chosen view is displayed, look for the "Publish" button. This is typically located in the top-right corner of the view, often near "Share" or commenting features. Click it.

Step 3: Configure Your Published View Settings
A dialog box will appear, allowing you to customize what information is visible on the published version of your view.
Audience & Access:
Specific People/Groups: You can often share with specific Atlassian users, Atlassian user groups, or individual email addresses (for external stakeholders). Note that external users invited via email might need to create a free Atlassian account to access the view, though this requirement can vary based on your site's settings and Atlassian's evolving features.
Everyone on your Atlassian Site: An option might be available to make the view accessible to all users within your Atlassian organization.
Anyone with the Link (if enabled by site admin): If your site administrator has enabled it, you might see an option to generate a link that anyone on the internet can use to view the roadmap.
Visible Fields & Description:
Click on "Settings" (often in the bottom-left of the publish dialog).
Here, you can toggle on or off the specific fields from your view that you want to be visible in the published version. This is crucial for tailoring the roadmap to your audience and avoiding information overload.
Step 4: Preview and Publish
Before finalizing, look for a "Preview" option. This allows you to see exactly how the roadmap view will appear to those you share it with.
Once you're satisfied with the settings and preview, click "Publish" (or a similar confirmation button like "Add" or "Save").
Step 5: Share the Link
After publishing, Jira Product Discovery will provide a shareable link. Click "Copy link".
Distribute this link to your intended audience (e.g., via email, Slack, Confluence pages, or other communication channels).
Managing Your Natively Published Roadmaps
Identifying Published Views
You can typically see which views are published by navigating to the view itself. The "Publish" button might change to "Unpublish" or show an indicator.
Updating Published Views
Published views are dynamic. Any changes you make to the underlying view (e.g., adding new ideas, updating fields, changing timelines) will automatically be reflected for anyone who has the link. There's no need to re-publish for content updates. However, if you need to change the visibility settings (e.g., which fields are shown), you'll need to go back into the "Publish" settings for that view.
Unpublishing a View
If you no longer want a roadmap view to be accessible via its published link, navigate to the view, click the "Publish" (or "Unpublish") button, and select the option to unpublish. This will deactivate the link.
Creating Customer and Stakeholder Portals With Released
If you need more polished, branded, or interactive public roadmaps (especially for customers), "Released" integrates with Jira Product Discovery.
Why Use "Released"?
Create roadmaps with your company branding.
Easy-to-read experience for viewers without needing Jira access.
Central portal for multiple roadmaps, release notes, and feedback.
Publish "snapshots" (point-in-time views) for more control.
Embed portals into your website or app.
How to Publish Your Roadmap with Released
Step 1: Install and Configure Released
Install the Released app from the Atlassian Marketplace into your Jira instance. Follow the Released setup instructions to create a workspace and connect it to your Jira Product Discovery projects.
Step 2: Create a roadmap
Assuming you are familiar with Jira Product Discovery, this step should feel familiar. When creating the roadmap, you can choose between a board and timeline view. The main difference is that Released is more flexible and doesn't force you to use the same field to map to the columns.
Step 3: Publishing Your Roadmap
Once you are happy with the roadmap, click the "Publish" button. This will publish the roadmap to the portal. Hovering over the green "Published" lozenge will open the link to get to the portal.
You can create multiple roadmaps in the same portal, tailored to various audiences (e.g., a high-level executive roadmap, a detailed customer-facing roadmap).
You also have options to embed the roadmap into your website or other platforms.
Step 4. Design and Customize Your Portal
Navigate to Released > Settings > Portal to customize the appearance, branding (logos, colors), and the specific fields from Jira Product Discovery that you want to display.

Quick Tips for Effective Roadmaps
Audience First: Tailor visible fields and detail for who you're sharing with.
Clear Names: Use easy-to-understand names for roadmaps and views.
Right View Type: Choose the best format (Timeline, Board, List, Matrix) to convey your message.
Add Context: Use description fields to explain goals and strategy.
Review Permissions: Periodically check who has access.
Communicate Major Changes: Even with auto-updates, let stakeholders know about significant shifts.
By following this guide, you can effectively use these tools to keep everyone informed about your product's journey. Always check the latest official documentation from Atlassian and "Released" for the most up-to-date instructions.
Article
How to Publish Jira Product Discovery Roadmaps
The Complete Guide (feat. Released)
Got a product plan? Good. But a plan isn't much use if no one sees it. You need to share it, get your team pulling in the same direction, and keep everyone else in the loop. That’s where showing your roadmap comes in.
Okay, let's get your product plans organised and shared. This guide will walk you through setting up and using roadmaps and views in Jira Product Discovery, and how to use Released for more polished, public-facing roadmaps.
Roadmaps and Views: The Basics
Roadmap: In Jira Product Discovery, this is where you bring your product ideas together. It's the big picture of where your product is headed.
View: A view is how you present the ideas on your roadmap. You can create different views (like a timeline, board, or list) from the same roadmap data to show specific information to different audiences (e.g., your team, leadership, or sales).
Publishing a view makes it a shareable webpage, so even people without a Jira Product Discovery license can see your plans.
1. Roadmapping Natively in Jira Product Discovery
This is about using Jira Product Discovery's built-in tools to create and share your roadmaps.
What You'll Need (Quick Check)
Jira Product Discovery Plan
Free: Create roadmaps (board/timeline) within a single project.
Standard/Premium: Publish views to share with stakeholders.
Premium: Create roadmaps from multiple projects and use advanced sharing permissions (Private, Restricted, Open).
Permissions
To Create Roadmaps: Any licensed Jira Product Discovery user.
To Publish Views: Project admins by default, or users with a "Creator" role.
To Publish to Anyone on the Internet: A site admin must first enable this in Jira Product Discovery Access settings (
Products > Jira Product Discovery > Access).
A Configured Roadmap: You need a roadmap with ideas and a view (e.g., Timeline, Board) already set up with the fields, filters, and sorting you want.
How to Publish Your Roadmap Natively in Jira Product Discovery
Step 1: Navigate to Your Desired Roadmap View
In Jira Product Discovery, open the project that contains your roadmap or navigate to the "Roadmaps" section (found in the left-hand navigation).
Select the specific view you want to share.
Step 2: Initiate the Publishing Process
Once your chosen view is displayed, look for the "Publish" button. This is typically located in the top-right corner of the view, often near "Share" or commenting features. Click it.
Step 3: Configure Your Published View Settings
A dialog box will appear, allowing you to customize what information is visible on the published version of your view.
Audience & Access:
Specific People/Groups: You can often share with specific Atlassian users, Atlassian user groups, or individual email addresses (for external stakeholders). Note that external users invited via email might need to create a free Atlassian account to access the view, though this requirement can vary based on your site's settings and Atlassian's evolving features.
Everyone on your Atlassian Site: An option might be available to make the view accessible to all users within your Atlassian organization.
Anyone with the Link (if enabled by site admin): If your site administrator has enabled it, you might see an option to generate a link that anyone on the internet can use to view the roadmap.
Visible Fields & Description:
Click on "Settings" (often in the bottom-left of the publish dialog).
Here, you can toggle on or off the specific fields from your view that you want to be visible in the published version. This is crucial for tailoring the roadmap to your audience and avoiding information overload.
Step 4: Preview and Publish
Before finalizing, look for a "Preview" option. This allows you to see exactly how the roadmap view will appear to those you share it with.
Once you're satisfied with the settings and preview, click "Publish" (or a similar confirmation button like "Add" or "Save").
Step 5: Share the Link
After publishing, Jira Product Discovery will provide a shareable link. Click "Copy link".
Distribute this link to your intended audience (e.g., via email, Slack, Confluence pages, or other communication channels).
Managing Your Natively Published Roadmaps
Identifying Published Views
You can typically see which views are published by navigating to the view itself. The "Publish" button might change to "Unpublish" or show an indicator.
Updating Published Views
Published views are dynamic. Any changes you make to the underlying view (e.g., adding new ideas, updating fields, changing timelines) will automatically be reflected for anyone who has the link. There's no need to re-publish for content updates. However, if you need to change the visibility settings (e.g., which fields are shown), you'll need to go back into the "Publish" settings for that view.
Unpublishing a View
If you no longer want a roadmap view to be accessible via its published link, navigate to the view, click the "Publish" (or "Unpublish") button, and select the option to unpublish. This will deactivate the link.
Creating Customer and Stakeholder Portals With Released
If you need more polished, branded, or interactive public roadmaps (especially for customers), "Released" integrates with Jira Product Discovery.
Why Use "Released"?
Create roadmaps with your company branding.
Easy-to-read experience for viewers without needing Jira access.
Central portal for multiple roadmaps, release notes, and feedback.
Publish "snapshots" (point-in-time views) for more control.
Embed portals into your website or app.
How to Publish Your Roadmap with Released
Step 1: Install and Configure Released
Install the Released app from the Atlassian Marketplace into your Jira instance. Follow the Released setup instructions to create a workspace and connect it to your Jira Product Discovery projects.
Step 2: Create a roadmap
Assuming you are familiar with Jira Product Discovery, this step should feel familiar. When creating the roadmap, you can choose between a board and timeline view. The main difference is that Released is more flexible and doesn't force you to use the same field to map to the columns.
Step 3: Publishing Your Roadmap
Once you are happy with the roadmap, click the "Publish" button. This will publish the roadmap to the portal. Hovering over the green "Published" lozenge will open the link to get to the portal.
You can create multiple roadmaps in the same portal, tailored to various audiences (e.g., a high-level executive roadmap, a detailed customer-facing roadmap).
You also have options to embed the roadmap into your website or other platforms.
Step 4. Design and Customize Your Portal
Navigate to Released > Settings > Portal to customize the appearance, branding (logos, colors), and the specific fields from Jira Product Discovery that you want to display.
Quick Tips for Effective Roadmaps
Audience First: Tailor visible fields and detail for who you're sharing with.
Clear Names: Use easy-to-understand names for roadmaps and views.
Right View Type: Choose the best format (Timeline, Board, List, Matrix) to convey your message.
Add Context: Use description fields to explain goals and strategy.
Review Permissions: Periodically check who has access.
Communicate Major Changes: Even with auto-updates, let stakeholders know about significant shifts.
By following this guide, you can effectively use these tools to keep everyone informed about your product's journey. Always check the latest official documentation from Atlassian and "Released" for the most up-to-date instructions.
Use cases
Resources
Backed by


Use cases
Backed by
Use cases
Resources
Backed by